Aston Growers (part I)
Generic Canneries needed a buddy (and a supplier). What do you can? Peaches, potatoes, corn, peas. And it isn't too much of a product stretch to make applesauce and baby food.
Plus, I needed a place to spot those gorgeous 8-hatch reefers I talked about in a post a while back.
So the answer was a produce storage facility across the tracks. And connected by a walkway to move produce from storage to canning. Conveniently, the walkway would also frame the view of the tracks and distract from the 90 degree corner.
Walthers offers a cold storage model.

While the model looks nice, I had a few concerns:
1. I needed a model to fit in the odd shape between the tracks, the back wall and the side wall.
2. The model didn't have a lot of character.
3. I had just come through the aggravation of cutting and splicing an existing model.
And besides, the Aston spur is designed to teach me new things. Having constructed the unloading shed out of raw plastic/styrene, I was ready for a larger challenge. So I took the "look" of the Walthers model and bought a bunch of white styrene from Credit Valley. Think of it like building a shed from lumber using a mix of 2x4's and plywood.
I measured and measured. I cut some MDF (described as cardboard with an attitude problem by other modellers) as my base. It also gave me a footprint for the model so I could be sure of fit.
And then I started cutting the styrene and adding layers. I spray painted a tan base for the styrene and coloured with grey, concrete and a little brown.
 |
| Bare concrete wall |
To decrease my aggravation level, I decided to add doors on top of the styrene instead of cutting holes. I added styrene strip on top of the base wall to give the structure some form and for visual interest. I added the doors (from the Roberts printing kit) and framed them with timber and a small loading dock.
 |
| It fits! |
I was very happy when the test fitting showed the structure would sit nicely in its spot.
I continued by adding the front wall:

The front wall got two small windows - again for visual interest. Cold storage buildings (and I've been through several in real life) don't have a lot of windows because the aim is to keep the building cold. Pretty obvious eh? But I figured a little light for the workers wouldn't hurt.
I added a truck dock for local pickups/deliveries. I figured the main truck loading docks would be on the other (unseen) side.
As I continued, I noticed that the great thing about styrene is how well it fits together if you are mindful of math. For example, the main wall is slightly thicker than the side walls. I left an overhang on the main wall so the side walls would "slot in" and then added strip to create square corners that were sturdy. (Recall the small pull aparts when the walls met at Generic Canneries).
Details
Although I was really happy with how I was turning styrene into poured concrete, I thought the boys at Aston Growers would want to get out of the cold. One thing I didn't like about the Walthers kit was the all-concrete look. And I was ready to try again to get the brick look.
So I added a small entrance building in brick. Also, to disguise the lack of refrigeration equipment on the roof, I also added a head building on the roof.
And I had a slightly rusty tank that needed a home.
A final consideration is that the front wall came out at an angle from the backdrop and I thought adding a out building would disguise where the building meets the backdrop.
 |
| Outbuilding and tank |
I constructed the brick outbuilding using styrene as the core with thin brick sheet as the exterior. The corners were not very neat so I added some l-girder, painted grey, to cover up the corners. To paint the brick, I tried a new product - mortar paste. The paste goes on after you paint the brick. You let it soak in and then wipe it off with a cloth. The effect is much better than my previous method.
I added a window, a door, a few vents/fans and a roof. I had to notch the structure a little for it to fit between the base and the middle rib of the structure.
I built a faux concrete dam for the storage tank and installed the tank in front of the outbuilding. I hope the shiny tank draws the eye away from where the structure meets the wall.
I then went back and added small eaves to the loading docks.

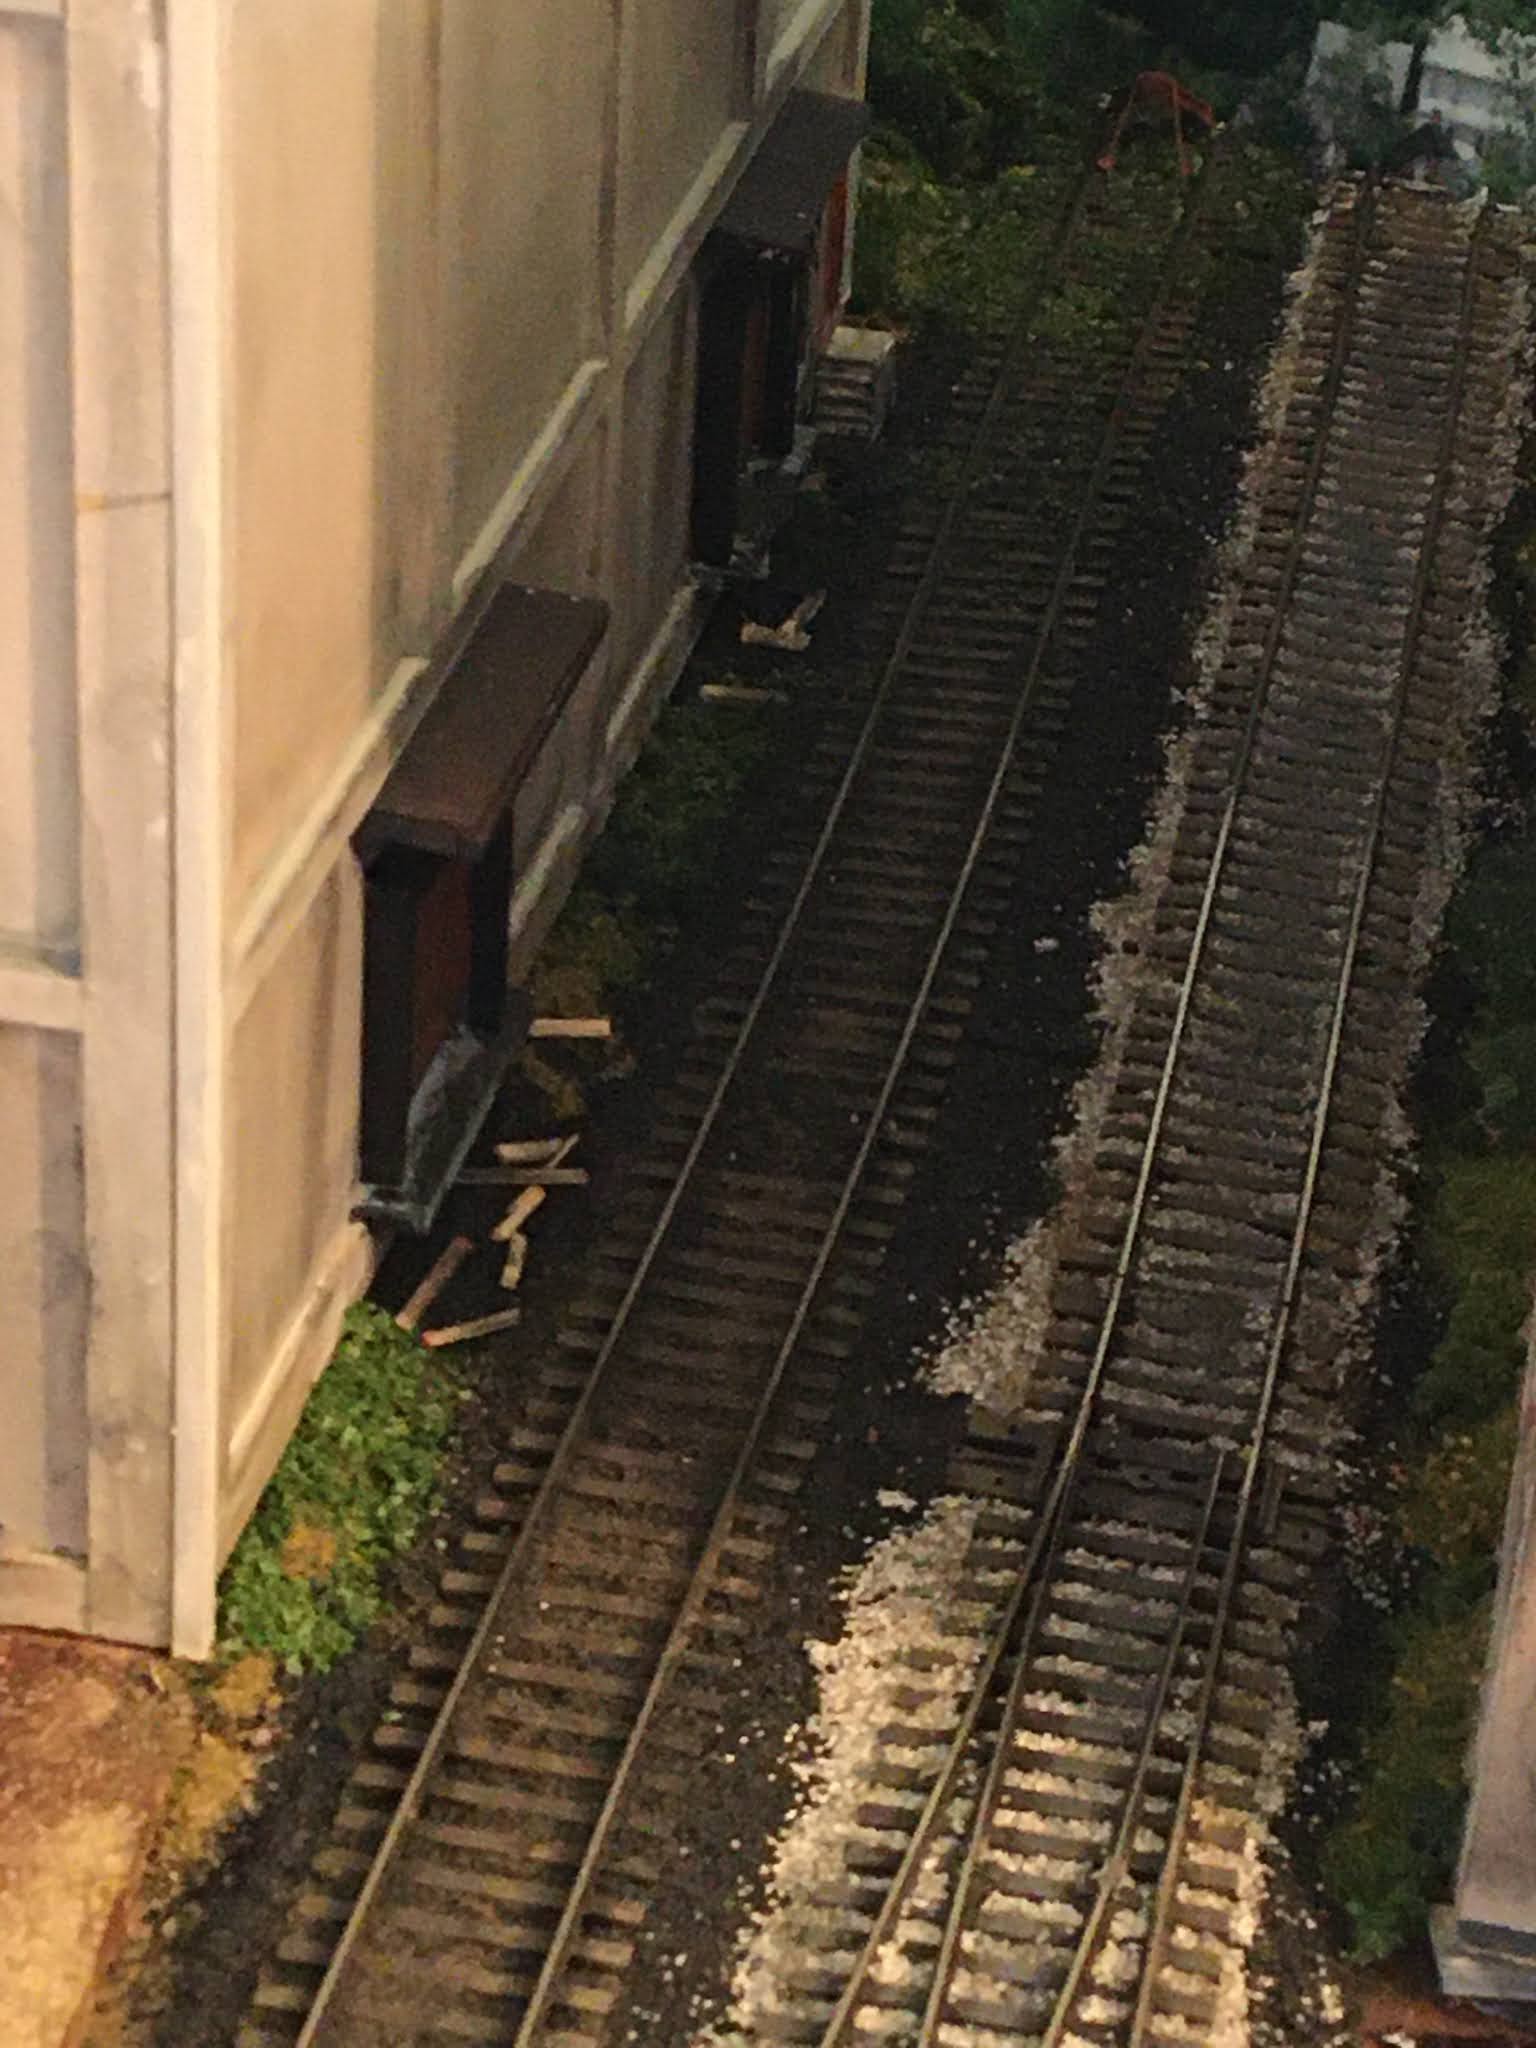
Being a local facility, I figured that Aston Growers would not inbound much produce (AG being very keen on "eat local") and would generate few outbound loads so only one of the two rail loading docks would see much use. So I added less scrap wood at the far dock. The track also gets weedier as it heads toward the backdrop. (Note the stairs from the door - those took me about an hour to make and paint!).
The project was both fun and time-consuming. The advantage of scratch building (i.e. making a cake without mix) is that you can make things to be exactly what you want. It is also surprisingly easy to make a basic structure that looks as good as an off the shelf model. The trade-off is that building everything from scratch takes more time than building a model kit. You also have to supply your own details. I find the smaller the detail, the more time it takes to create. Those loading dock posts (in black above)? They took hours because I had to find the right wood, cut to size, trim the door, paint the door, paint the wood, add the base, glue everything together, touch up paint, weather, etc. And I still don't think they look great (too big).
Part II will follow shortly.


