A Backdrop for the Aston Spur
With the layout resting on top of the cart, it was now time to add a backdrop. By this point it was April 2019.
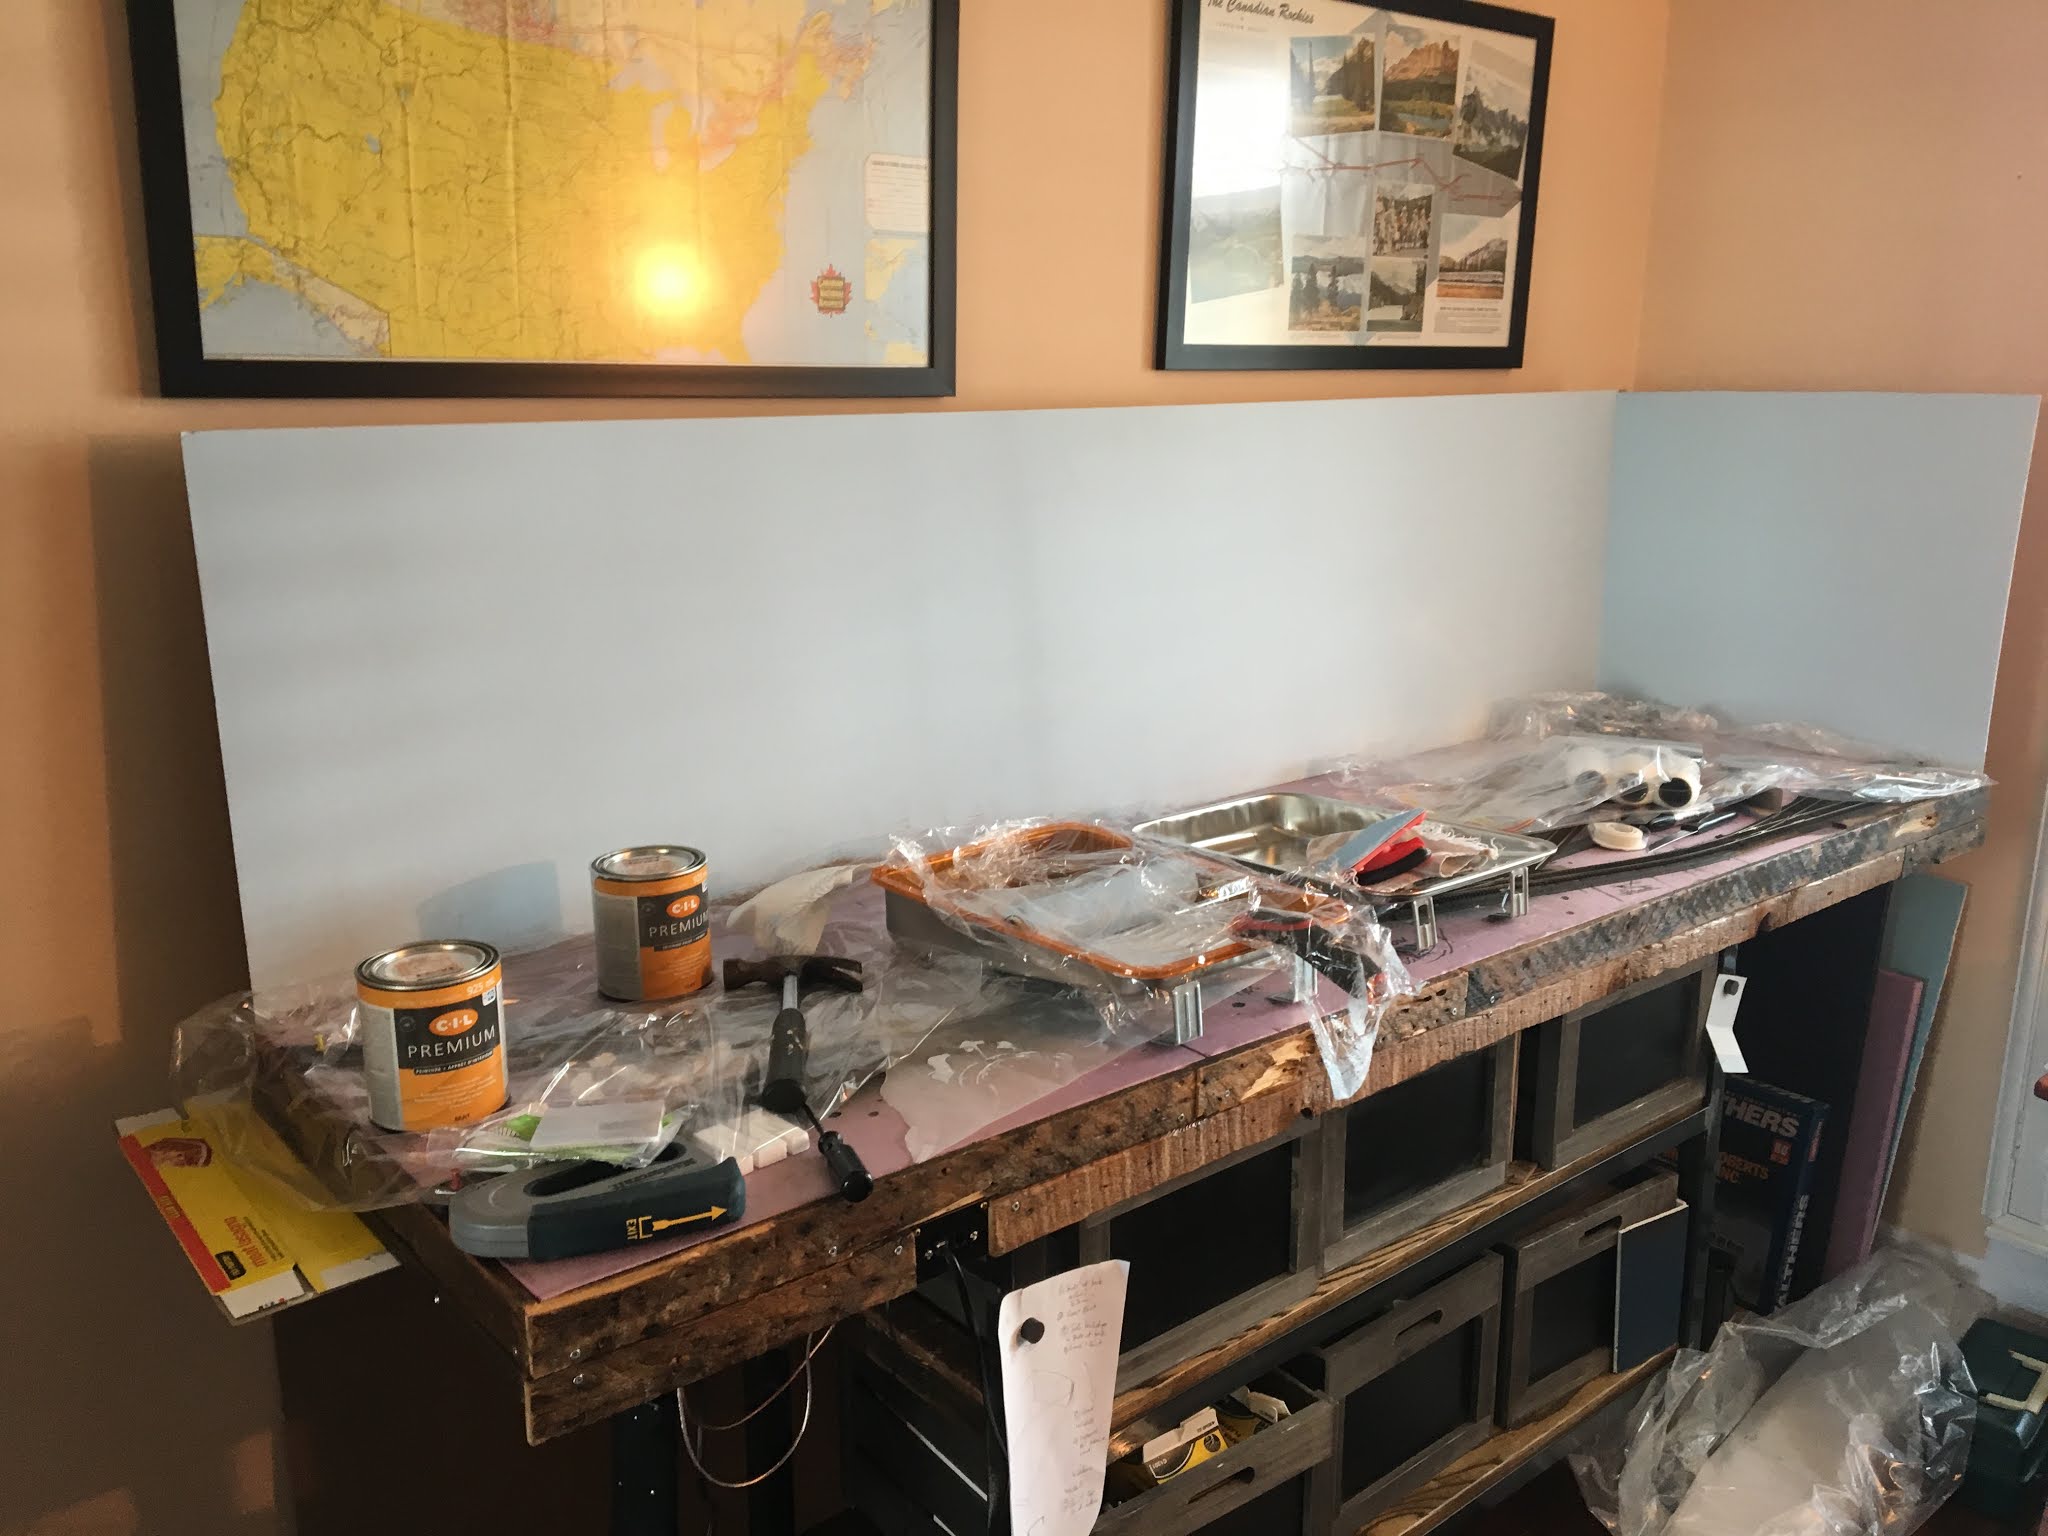
Now, I didn't take very good notes in the early days of building the layout. But I believe I went with High Density Fibreboard for the backdrop. I wanted wood that would not warp and could stand up with little support.
I opted for a free-standing backdrop. I could have mounted it against the wall but that would have kept the layout stationary. What's the point in buying a cart with wheels for a stationary layout?
I secured the HDF to the layout with 1 x 2 studs. The studs were screwed into the layout base (on the studs used to frame the plywood). I then glued the HDF to the studs with clamps. For a few weeks, my clamps were my favourite tool.
I compromised and had the backdrop on the "north" side (the side against the wall) and the "east" side (the industrial end) meet at a 90 degree angle. With the light blue paint, the meet doesn't stick out. I did not have the space to curve the backdrop.
The challenging bits were keeping the HDF level and flush with the layout. Joining the back and side sections was also a challenge. As you can see from the photo below, I did get some warping at the back but it is not noticeable at the front. A pleasant bonus was fitting the side backdrop between the foam and the side trim giving it a strong base.
For paint, I went with CIL "Clear blue sky" flat matte. An unremarkable colour. I didn't paint clouds on the sky (perhaps a future project). I can't remember if I primed the HDF first or sealed it. What I do remember is that the paint rolled on remarkably smoothly and the finish was perfect.
A few pictures:
 |
| Making a mess. I don't remember what the staple gun was for. |
 |
| A close up of the corner. |
 |
| The studs. Note the warp. |
One last note - I intend to add a partial roof to the layout. The purpose of the roof is allow me to add overhead lighting (likely from Ikea). The lack of light is a problem in the area behind Aston storage and Generic Canneries - the area is scenicked but with no light you cannot tell. I hope that the studs will help support the roof, but as you can see from the warp in the photo, this is probably wishful thinking.
Painted and photo background
Much like the rug in the Big Lebowski, a subtle background ties a scene together.
I went with both a painted background and a (purchased) picture background for the spur. If I was doing it again, I'd go with a picture background for the entire layout. At the time, I had read that picture background had a tendency to "bubble up" from a HDF backdrop and I was intimidated. There was also some confusion about what kind of adhesive to use - spray adhesive? Photo adhesive? I went with Heavy Duty Contact Cement from LePage. It stinks (smell-wise) but I've found it to be about 90% effective. The key is to use a lot of glue. A lot. And spread it with a brush. I flattened the photo against the backdrop with a crepe spreader (a very useful tool). There is a small section of the layout where the print has come loose but it is not noticeable.
Anyway, the lesson for me from all of this is to just have faith. This was my first time playing with a photo background and the results were nearly perfect.
The Painted background
Meh.


I spraybombed the backdrop with dark green paint to create a distant hills look. As you can see, not very pretty. And the sheen shows up in photos (I discuss building the hills in a separate post).
The painted section covers about 3 feet.
The Photo section

 |
| Much better! The tree in the upper left hides the painted/photo transition. |
I purchased my backgrounds from railroad backdrops. They weren't cheap and took a while to deliver, but I'm happy with the end result.
A few other notes about using photo backgrounds:
1. Obviously, the right time to apply the photo background is before adding scenery.
2. I cut out the sky from the backgrounds and used paper hole punchers to round the photo edge. I ran black or green paint over the top of photo to blend it in.
3. You do end up "wasting" a fair bit of the background if you put high scenery in front of it (hills, for example). I accepted the waste in favour of keeping the background level. In one place (behind Aston Growers), however, I added an additional photo blob to prevent the structure from being framed by the blue sky. I should have done this with Generic Canning.
4. At the 90 degree corner, the two background colours do not match. You see it in the photo below:

I still love this picture though. And it is before Generic Canning was placed so the clash is not as noticeable now.
The point of all of this is to say that I'm really happy with how everything turned out. It isn't perfect but I'm amazed at how it turned out for a first try. My only real regret is that I didn't have enough confidence to try a photo background at the outset.


