Sunday, September 19, 2021

 Generic Canneries gets a Parking Lot

Where were we?

Here - the empty space "behind" Generic Canneries:


The concept was to create a parking lot for Generic Canneries' trucking fleet. I've worked at several warehouses due to my glamourous profession, and they've all had big truck parking lots. This lot wouldn't be huge, but it would be a logical thing for Generic Canneries to have.

I had already constructed a small shed which I envisioned would be used as an office for managing shipping. You'll see more of it later. You can never have enough sheds.

Anyway, back to the parking lot. The first thing to understand about truck parking lots is that trucks are heavy. They sink into mud. They warp asphalt. Therefore, if you're going to store trailers, you use concrete. And concrete can be pricey. And in my mind, Generic Canneries - in the throes of the post-war boom - had the money for concrete.  

I made the parking lot out of styrene and added some strip styrene underneath for height. I was going to spraybomb it tan but the confounded nozzle was jammed.

So it got a coat of grey instead:

Connected!

I linked the lot with the outside world by adding  a connector between the parking lot and the road going under the shed. 

I tried to scribe some expansion joints into the "concrete" but the lines were not deep enough and they were covered up by paint. Oh well, next time. I also sanded and dull-coated the styrene to give it some grit.

Note the raised edges.

Then it was time to paint the parking lot concrete.


Ballast and Scrub

After numerous fittings/re-fittings, I was happy with the lot placement and set it in place. As you'll see, I was far from finished with the concrete but installing it was necessary to put in the base scenery around it.

Ballast for the plant spur:


The plant spur being the older of the two sidings (the shed sidings being a recent addition), it got cinder ballast whereas the shed siding got "fresh" grey ballast. 

Scrub:


Fresh grey ballast for the shed tracks:


Scrub around the parking lot:


All added in layers. Ground foam first. Then some grass. Then bushes. The ballast was added in one go with patch ups done a day or two later (spots missed by the glue). Again I went with wet water to soak/hold the ballast followed by scenic cement.

As I write this, I reflect on how humdrum the process was. Nothing (so far) about the scene was difficult to create once I had the basic idea. I did some fitting with the styrene pieces but that wasn't hard. Everything else was standard issue scenery technique. But I think it all seemed easy because I have a lot of scenery products and textures to choose from. And I'm not trying to model anything exceptional - just a plain old parking lot.


So with the basic scenery installed, it was time to add some detail and weathering...


Saturday, August 21, 2021

 Finalizing the Foreground Scene

The scenery for the foreground scene was divided. First, there was the inclined road leading up to the scene. The second part was the flat area justifying the road.

Why would you have a road, even an overgrown road, unless it was going somewhere?

And who would want scrub land next to a railroad spur? Certainly not the Joneses. And what would they do with the land? The answer is pretty clear (at least my mind) - men intent on escaping their wives. So the resulting scene is supposed to be the start of a small clubhouse for some local men's club (inspired by my Uncle's stories about he and my Dad blowing up stuff in a remote field). But it is hard to tell really, since the only thing modelling as a structure (aside from an outhouse) is concrete foundation. The story is that the men have torn down an old shack and are starting to build a new clubhouse, which includes a basement to store all the crap they can't store at home.

Ready.

in the sprit of trying something new, I added a stone fence to create a compound. The fence is a plastic (yellow) mold that comes in pieces at various lengths with a few corners. I painted it grey but was never really able to find the right colour. Nevertheless...

Because the compound is flat, I added visual interest with the foundation. I dug into the pink foam and then used painted styrene to simulate a freshly poured foundation.


And then it was time to add the centrepiece. First the outhouse. 


The outhouse is from XXXX and comes as a casting so it just needs to be painted. I went with aging wood and an tar paper roof gathering moss.

And then the hero tree to shade the outhouse...
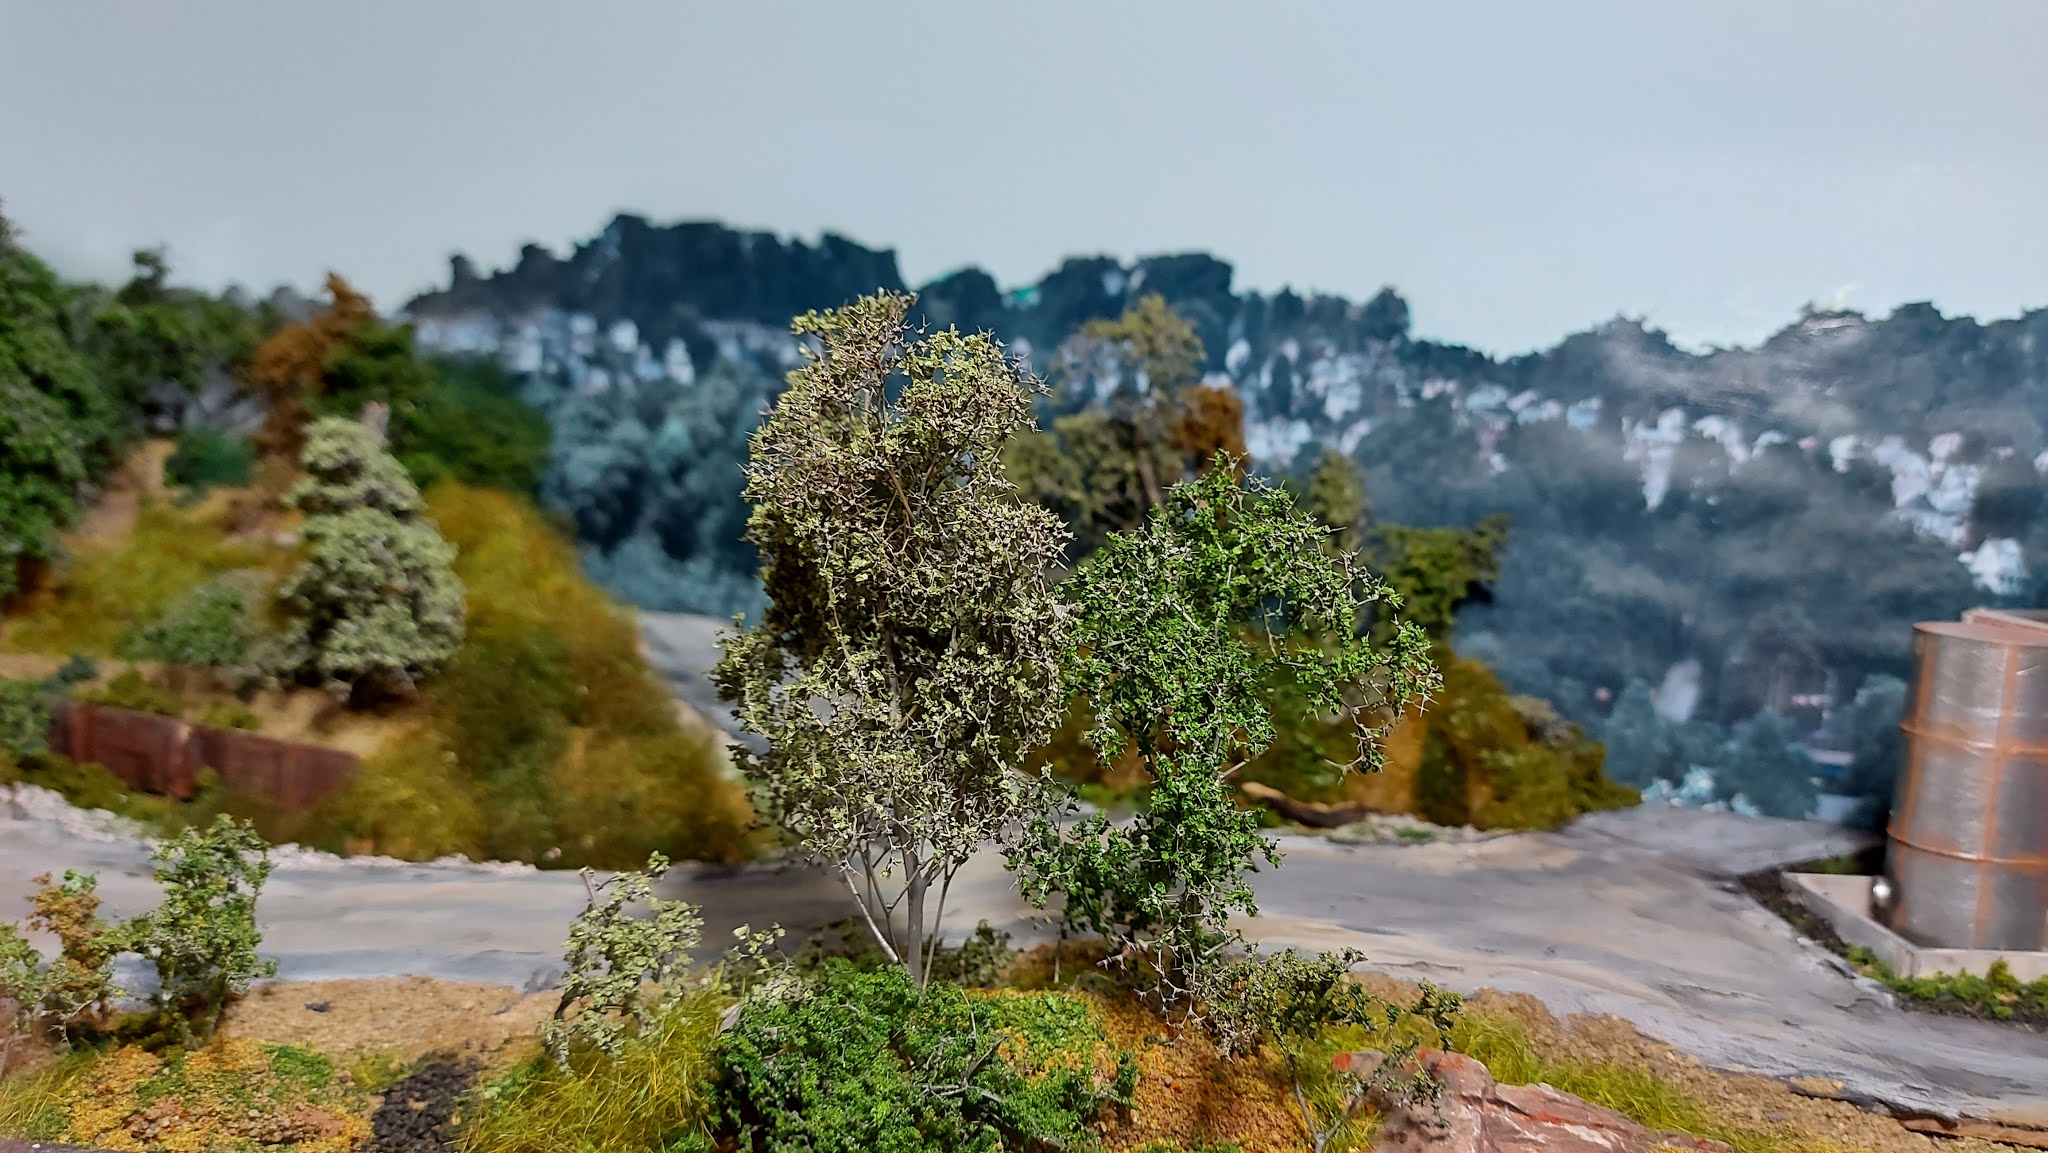

And junk wood (from the demolished shack) and new 2x4s for the new clubhouse...


And added some scrub around the outhouse/tree scene...


And vegetated the embankment...


The scene is about 95% complete. I'd love to add a cement mixer to emphasize the freshly poured foundation if I can find a detail part.


Sunday, August 8, 2021

 Building a foreground scene

As mentioned in a previous post, I had imagined in a scene in the left foreground of the layout.

I wanted:

1. Something that was elevated (to distract from the flat track)
2. Something overgrouwd and neglected.
3. No structure to block the trains, but still something of interest.

Step one was to create the blog using the usual foamboard.


And...


As you can see, the blob was in two parts. The first part is an incline leading to a plateau. The second, smaller piece, is flat. I cut the foam in two to make it easy to cut out some foam to install a little scene.

The scene I envisioned was a formerly abandoned lot that someone was constructing a small building on (this will make sense when you see the foundation). There would be an overgrown gravel road/path, long grass and some weeds. The road wasn't perpendicular to the edge, to prevent the right angle effect.


The scenery was applied in layers - starting with dirt, then the gravel and ground foam - eventually creating a solid underlayer prior to applying the grass.

The gravel road was the hard part - I wanted a narrow road, even on both sides, with a slight shoulder before the grass took over.

I then added the grass in a variety of colours. The grass (well stretched into a thin lair) was glued using watery white glue. 

It was slow and steady. Add a layer, let it dry, fill the gaps and add another layer...


Still not done...but close enough to place on the layout for a test fitting.

At this point, I cut out a square for the eventual addition on a concrete foundation for an unbuilt building.


And added texture to the trackside hill to blend it in.


Separately, I began to put together into a "hero tree". A hero tree is a highly detailed tree (particularly the trunk) intended to be placed in the foreground of a scene as a focal.

I took a stock Wood Scenics tree trunk, painted the trunk greyish-brown and, here comes the hard part, took Super Tree branches and laboriously glued them to the trunk, using tweezers and glue, accompanied with swearing.


Was it worth it? Stay tuned for part II...


Sunday, June 20, 2021

 The ONR, Northern Ontario and Father's Day

Next weekend brings the true start of summer for me. I'll pick up my Uncle and head north to Temagami then by float plane to a remote lake for several days of fishing.

Northern (actually "near Northern") Ontario is a favourite place in the summer. I like the two-lane roads, the endless procession of trees/rocks/lakes you see along the way and the small towns that look modest but have an interesting history (Cobalt has a fascinating collection of buildings from its brief boom period in the 1930's).

There is also interest from the railroad side. At North Bay, the Ontario Northland Railway takes over from the CN line, taking the rail all the way up to Moosonee on James Bay with a few branch lines along the way to Rouyn, Hearst and the outskirts of Timmins. The ONR is a meat and potatoes railroad - paper, lumber, chemicals and metal products are its main commodities. No fancy intermodal trains or hyper-efficient unit trains for the ONR. They even run a mixed freight/passenger train to Moosonee with piggyback cars. 

When we were kids, my Dad took us up to Cochrane and Nakina. That's what I call the "North". Nakina is about 24 hours north of Toronto and is where the road ends. Cochrane is slightly closer, but the same in terms of the road ending.

I've been through Nakina on the Canadian a few times:

2016

From a labour law nerd perspective, Nakina is interesting because of a court case/Royal Commission that came into play when CN ended its status as a Division Point (i.e. where train crews sign in and out of work) in the late '50s. The above photo was taken on my way to a labour law conference in Winnipeg.

I had a labour law brush with the ONR in 2001-2 as a junior lawyer. They were a client of my firm and I did document review/research related to a potential sale of the railroad (which never happened due to onerous labour contracts).

Cochrane is home of the Polar Bear Express running to Moosonee.

We went there in 1985(?) and rode the train:


And my Dad got us a visit to the engine cab (an FP7):


Really, really glad to have these photos and they seem especially appropriate to post today on Father's Day.

Because of all the time we spent in Northern Ontario growing up, the ONR is my second/third favourite railroad (Keeping in mind I work for a European railroad, the ONR probably gets bumped down to #3).

I took a northern Ontario drive in 2017 to check out the ONR.

Stopping in Temagami to catch Train 214 from Englehart to NB (sadly my video of the train is too large to upload):


And admire the station:


Before heading up to Englehart to check out the yard and display steam engine:

SD70

Pacific with "Elephant Ears"

Looping back to the start of this post, I come to 2015 for a favourite photo (albeit not of the best quality).

2015 was our first fly-in fishing trip out of Temagami. Our means of transport was a De Havilland Dash-2 (?) built in 1956 and still flying today (I'll see it next Saturday).


The ONR still runs GP9s, one of which was also built in 1956. 

And guess what? As we loaded our gear into the plane, there was a sound of an approaching train - the ONR freight from Englehart to North Bay.


And the last engine in the consist was 1601, built 7/56 according to the Trackside Guide...


Where in Canada can you get a photo of two machines from 1956, largely unmodified, still fulfilling their original purpose in the same frame?

Words do not describe...Thank you Dad and looking forward to seeing you Uncle!


Sunday, June 13, 2021

 Filing the Gap (III)

The last piece of the scene was a small gap between the tracks and the road.

If this was a well-travelled part of the world, there would be a nice, orderly "T" intersection instead of roads going off in four directions. But this was a back road to the station and a cold storage facility. Not exactly the "must see" part of town. 

Roads go as they go for a reason. And I didn't want an orderly road. So to excuse the disorder I created a small bluff. The bluff adds an additional visual layer between the tracks and the front part of the layout and the bluffs. More bluntly, the bluff acts as an "X" in the line of sight preventing a clear view of the back.

Pre-bluff

What's apparent in the above photo is the steep drop from the road to the base brown foam. The bluff would help to "mellow" and disguise the drop.

Again with the blobs...


I started with the tried and true method of building small blobs off layout using insulation foam. I also found a left over plaster rock to incorporate into the scene to add a little Canadian shield effect.


The blobs were painted brown and I covered them with understated ground foam as a base. This meant any scenery gaps wouldn't show through.

Basic model railroad scenery theory states, "Add scenery in layers".

Shrubs and the base ground scenery around the bluff came next:


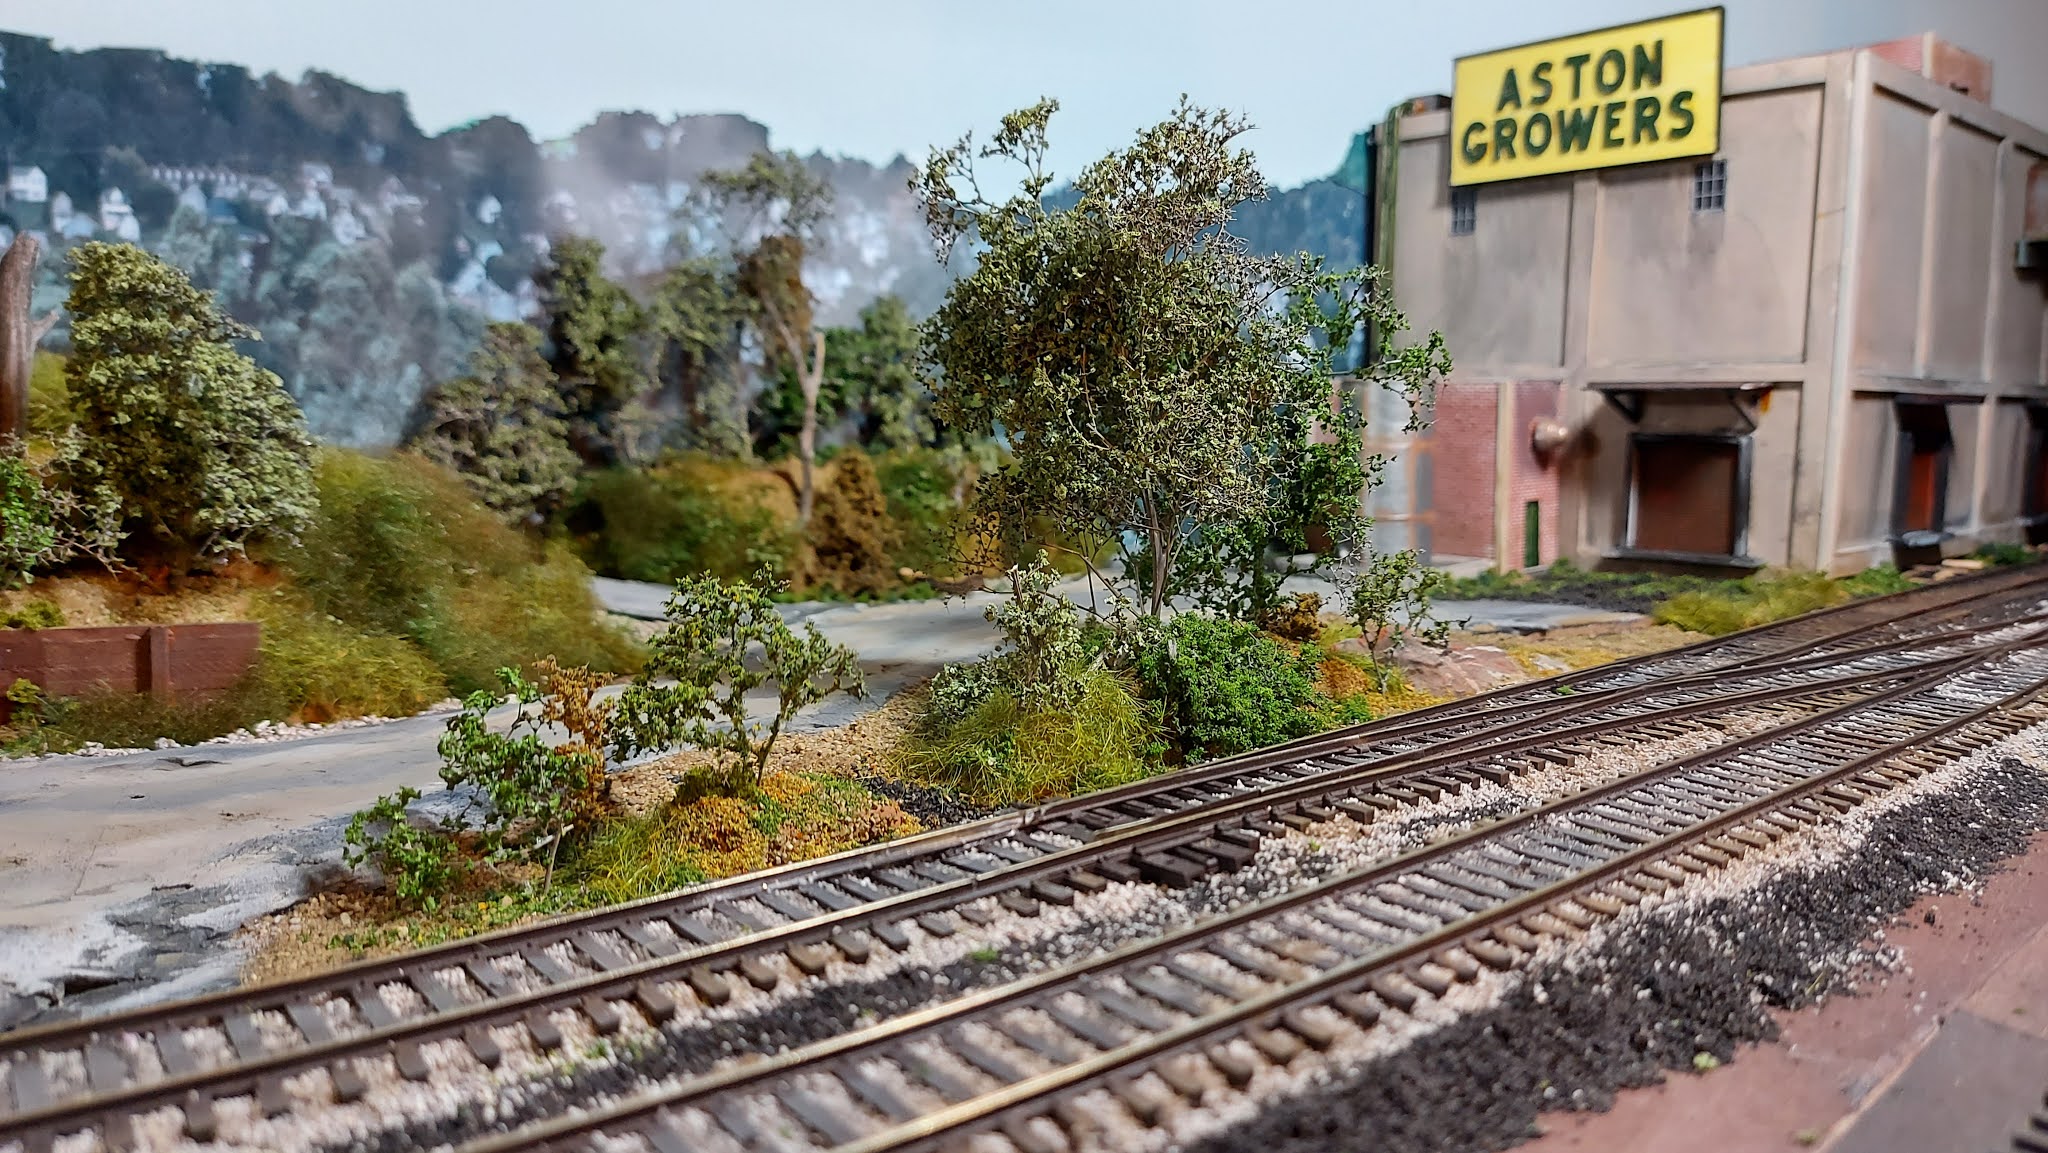
I tried to leave enough space between the tracks and the bluff, and again between the road and the bluff to give each element room to breathe. I also made sure that the area around the switch point (where the switch is turned) so that the imaginary train crew would have level ground to work with.

I was happy to see at this point that the drop off from the road was gone. The shrubs were a mixture of colours and Woodland scenics shrub and leftover Super Trees.

Speaking of which:


Note the black ballast around the switch.

As I went along, I also re-weathered the road to add more dust/dirt using powder. I found it easier to blend the colours once I had added the surrounding scenery. A lesson for me. A lesson I had already learned from the bluff was that you only need a few trees to give the impression of density. In this case, two medium-sized trees create the effect. 

From the side:


I think all these photos illustrate the "X" concept. The bluff does a good job of breaking or distracting the line of sight, keeping the eyes from going directly to the backdrop or building.

One last note before I close the post. Summer time is not exactly layout time. But it is a good time for driving. 

When I built Aston Growers, I used other HO scale models as a reference point. At the time, I looked around for a real-life example and couldn't find anything online.

And then, a few weeks ago, about five miles from where I live, beside the CPR tracks, I found Dixie Growers Ltd.:


Love the brick elevator shaft and the office section too.


...and


Aside from the weathering, I'd say 👍.


Monday, May 24, 2021

 Intermission


I'll take a short break from the filling the gap story to talk about the overall progress of the layout vs this blog.

I have one more post to go on "Filling the Gap". With that post done, the story will be current, more or less. I will have covered every completed section of the Aston Spur.

I am working on a new section at the front left edge of the layout. It is going well, albeit at the usual slow pace. There have been many some details to create, paint and prepare for a placement (watch out for an upcoming picture of my first "hero tree"). 

Once that is out of the way, I'll have covered about 80% of the layout and have pretty much plotted out the remaining bits. I think I need a swamp and there is just enough space for one.

Of course, there are more details to add and finishing touches to touch, which will take a while. Road signs, station signs, roof details, the "vignettes" I talked about in an earlier post, etc. etc. But the completion of base scenery (which will take several more months) will be a milestone.

This all means the pace of posts has slowed. 

I attach though a preview of some of the latest work. A small hill leading to a building under construction. I also took some time to weather my ONR boxcar to make it less shiny. Burnt Sienna looks nice on a boxcar is my weekend discovery:

Under construction.